How to Frame a Canvas Painting Unstretched
Share
Framing a canvas painting unstretched requires a deliberate approach to ensure the preservation and presentation of the artwork. The process involves a series of meticulous steps, from measuring and constructing the stretching frame to carefully positioning and securing the canvas.
This method offers a unique way to showcase artwork and allows for customization in framing options. Exploring the benefits and techniques of framing unstretched canvas can provide artists and art enthusiasts with valuable insights into enhancing their artwork.
Understanding the essential materials and alternative framing options can open up a world of creative possibilities.
Key Takeaways
- Framing unstretched canvas preserves the quality and longevity of the artwork while protecting it from damage.
- DIY framing requires essential materials such as wooden sticks, staples, wood glue, nails, ruler, measuring tape, saw, chosen frame, and matting and mounting options.
- The step-by-step guide for framing includes measuring and outlining the sides of the canvas, cutting and assembling wooden sticks to create the frame, positioning the frame on top of the canvas, and stretching and stapling the canvas onto the frame.
- Alternative framing options include DIY stretching, floating frames, box frames, and frameless display, depending on preservation and budget concerns.
Benefits of Framing Unstretched Canvas
Framing unstretched canvas offers numerous benefits, primarily centered around the preservation of the artwork's quality and longevity. When a canvas painting is left unstretched, it is vulnerable to damage from dust, handling, and environmental factors. By framing the unstretched canvas, these risks are mitigated, ensuring the piece remains in pristine condition. The frame acts as a protective barrier, safeguarding the artwork from physical harm, such as tears or punctures, which could occur if the canvas were left exposed. Additionally, framing provides a professional presentation, imparting a finished and polished look to the piece, making it suitable for display or sale. Furthermore, the versatility of a framed unstretched canvas cannot be understated. It allows for easy hanging on walls or display on easels, offering flexibility in presentation options. This adaptability makes the artwork accessible for various exhibition environments. Moreover, the right frame can enhance the aesthetic appeal of the piece, complementing its visual elements and adding to its overall impact. In essence, framing unstretched canvas safeguards the artwork and elevates its presentation and longevity.Essential Materials for DIY Framing
When preparing for do-it-yourself framing of unstretched canvas paintings, gather the necessary materials, including wooden sticks, staples, wood glue, nails, a ruler, measuring tape, saw, and the chosen frame. These materials are essential for constructing a wooden frame to stretch and frame unpainted canvases effectively. Additionally, consider alternative framing options such as matting and mounting, which provide different presentation styles for the artwork. It is important to carefully measure and cut the wooden sticks to create a sturdy frame that will properly stretch the canvas. DIY framing requires attention to detail and precision to ensure the artwork is preserved and displayed professionally. For further guidance on DIY framing, consider seeking advice from painting blogs, where artists and framing professionals share tips and techniques for achieving the best results. Selecting the right materials and understanding the framing process is crucial for preserving the integrity of the canvas and creating a visually appealing presentation.Step-by-Step Guide for Framing
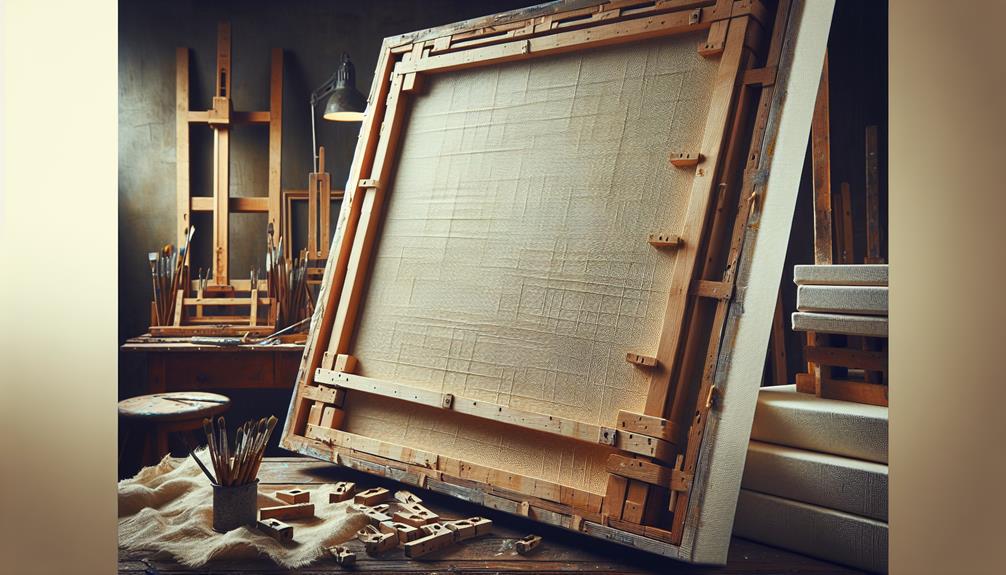
To begin the step-by-step guide for framing an unstretched canvas painting, carefully measure and outline the sides of the canvas to determine the required size for the stretching frame. Cut and assemble wooden sticks with 45-degree angles to create the frame, using wood glue and nails (or staples) to secure the angles for a sturdy frame. Position the frame on top of the painted canvas, using the outlined area as a guide. Stretch the canvas by pulling and stapling it onto the frame, starting from the middle of the longer sides and working towards the corners. For a larger piece, consider other framing options such as matting. Cut out the area where the artwork will be placed, secure the artwork to the matting board using painters tape, and then frame the matted artwork. Alternatively, mount the artwork on a board using glue instead of stapling. Ensure proper adhesion and allow the glue to dry completely before framing the mounted artwork. Following this step-by-step guide will ensure that the unstretched canvas painting is framed securely and professionally for preservation and display.Alternative Framing Options
Have you considered exploring alternative framing options for your unstretched canvas painting to ensure both preservation and aesthetic appeal? When it comes to framing unstretched canvases, there are various alternative options worth exploring, especially if professional framing or stretching at a local framer is not feasible.- DIY Stretching: If your budget permits, you can opt for a do-it-yourself approach by purchasing a pre-made frame larger than your artwork, taping the canvas down to a piece of board, and stretching it tightly.
- Floating Frame: Consider using a floating frame, which provides a contemporary and elegant look for your canvas. This type of frame allows the edges of the canvas to be visible, showcasing the raw beauty of the artwork.
- Box Frame: Another alternative is a box frame, which creates a modern and minimalist presentation. This frame style provides depth and can be particularly effective for canvases created with pouring medium or oil paint.
- Frameless Display: For a unique and unconventional approach, you may choose to display the unstretched canvas without a traditional frame. This method can create a bold and impactful statement, especially for abstract or contemporary pieces.


